Set up Automations App for Azure DevOps
Install the Automations App and connect it to your Azure DevOps organization.
Install the Automations App
Open the Visual Studio Marketplace and install the Automations App into your Azure DevOps organization.
Connect organization and register the Entra app
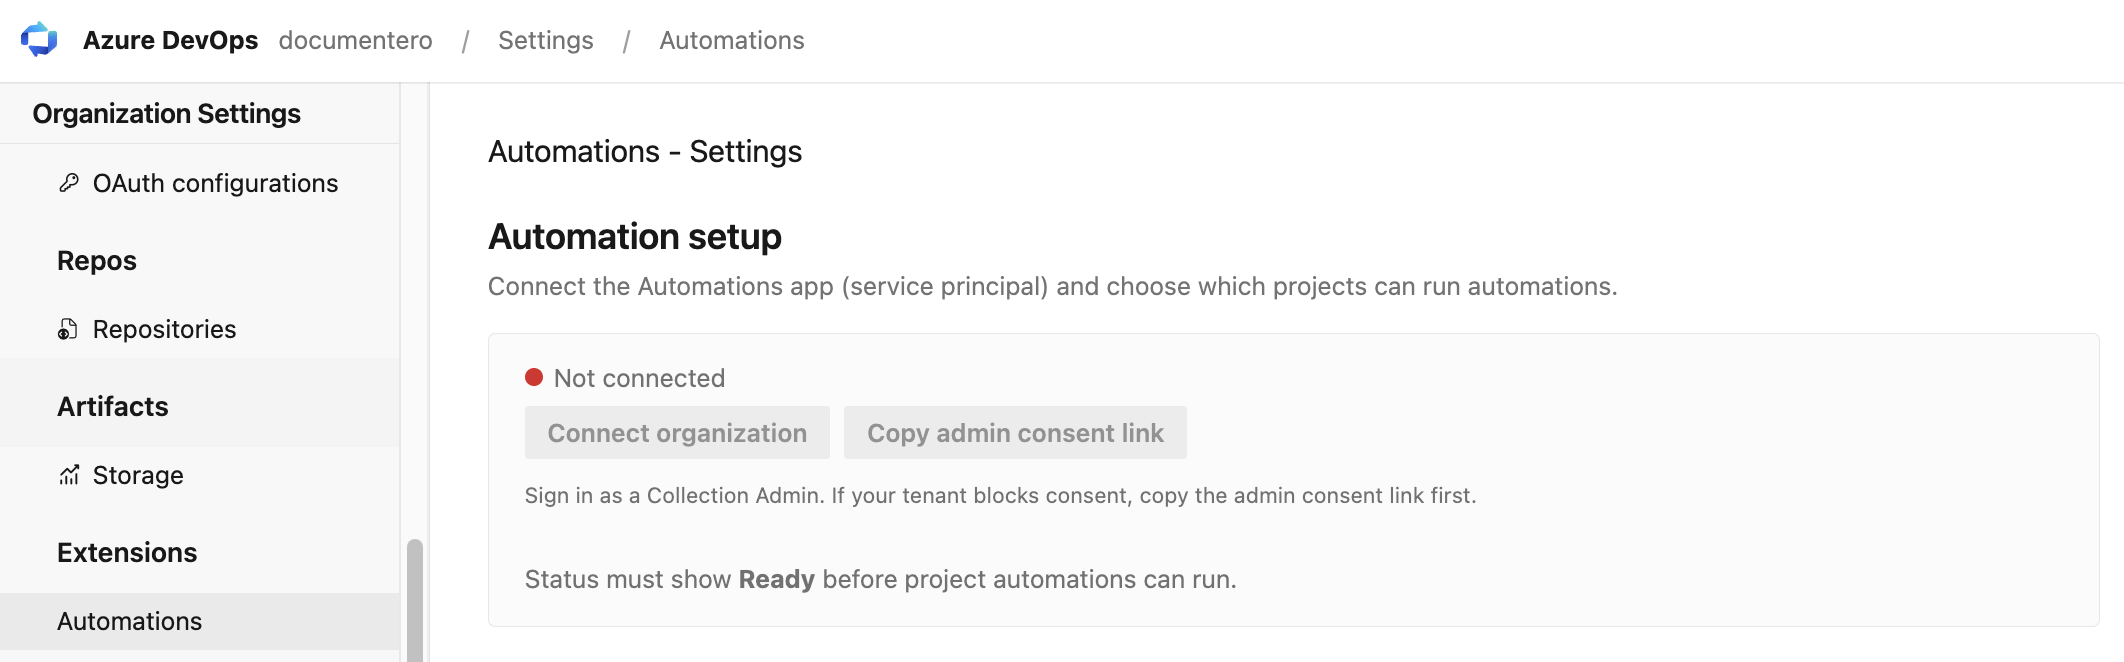
As an organization administrator, open Organization Settings → Automations. Status shows Not connected. Click Connect organization to register the Automations Microsoft Entra app. If your tenant blocks consent, use Copy admin consent link.
Select projects to enable Automations
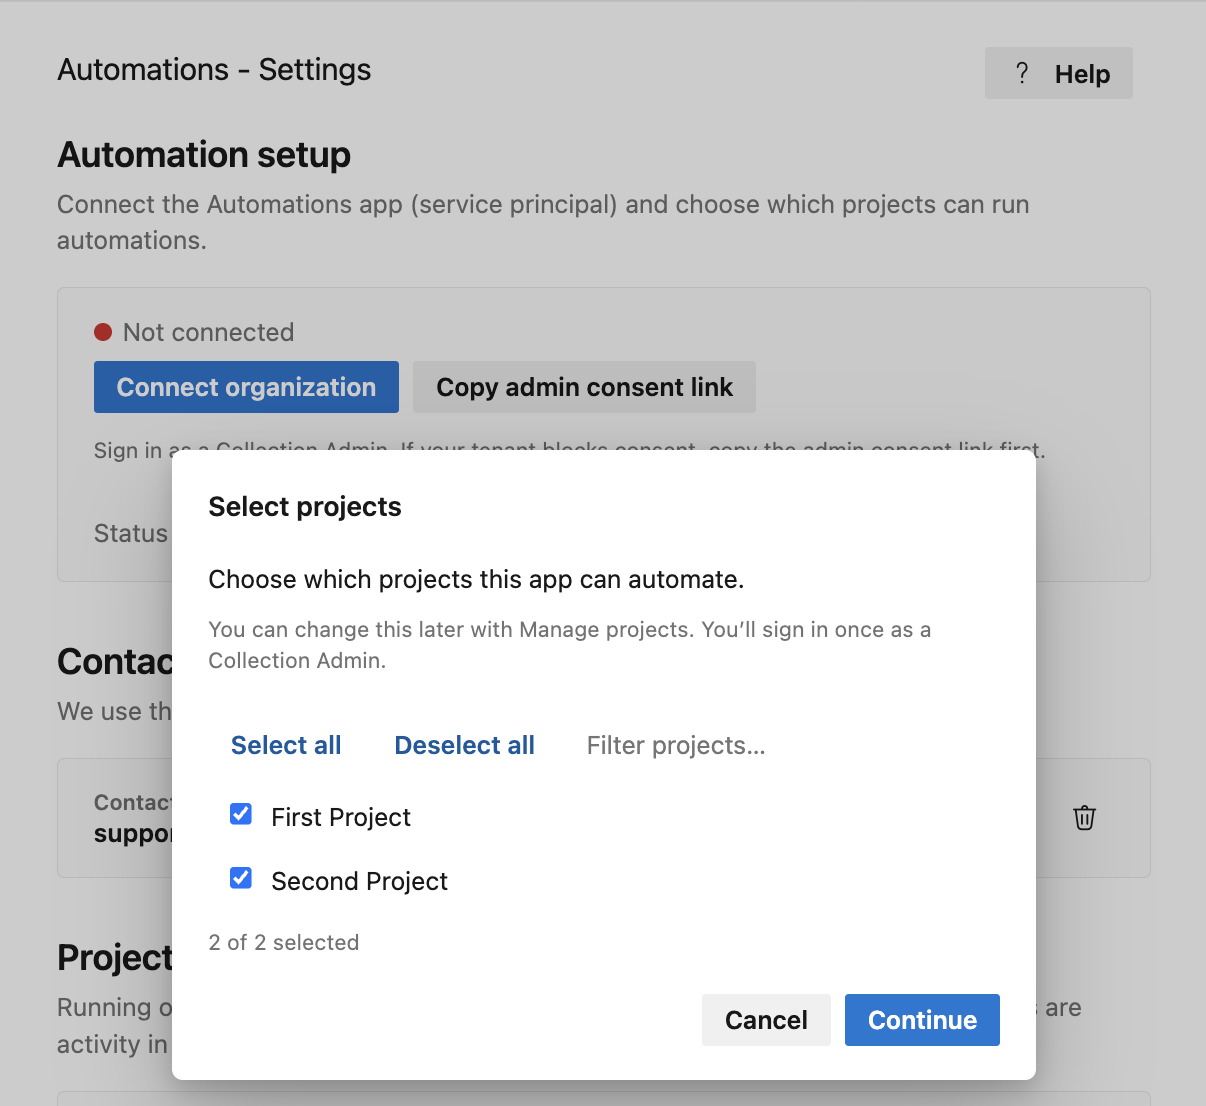
Choose which projects the Automations App will be activated in. You can change this later with Manage projects.
Accept consent as an organization admin
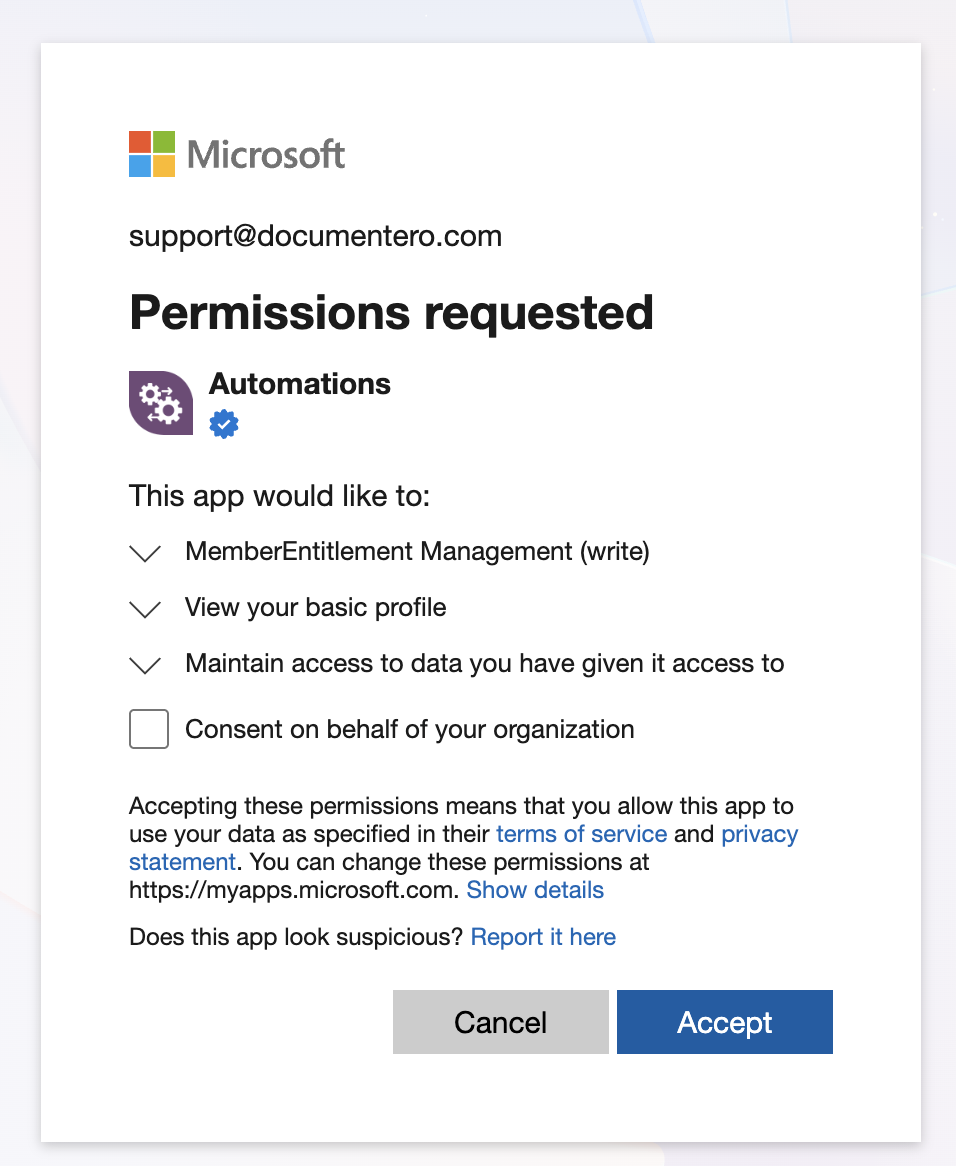
Sign in as an organization administrator and accept Microsoft Entra consent to add the Automations App.
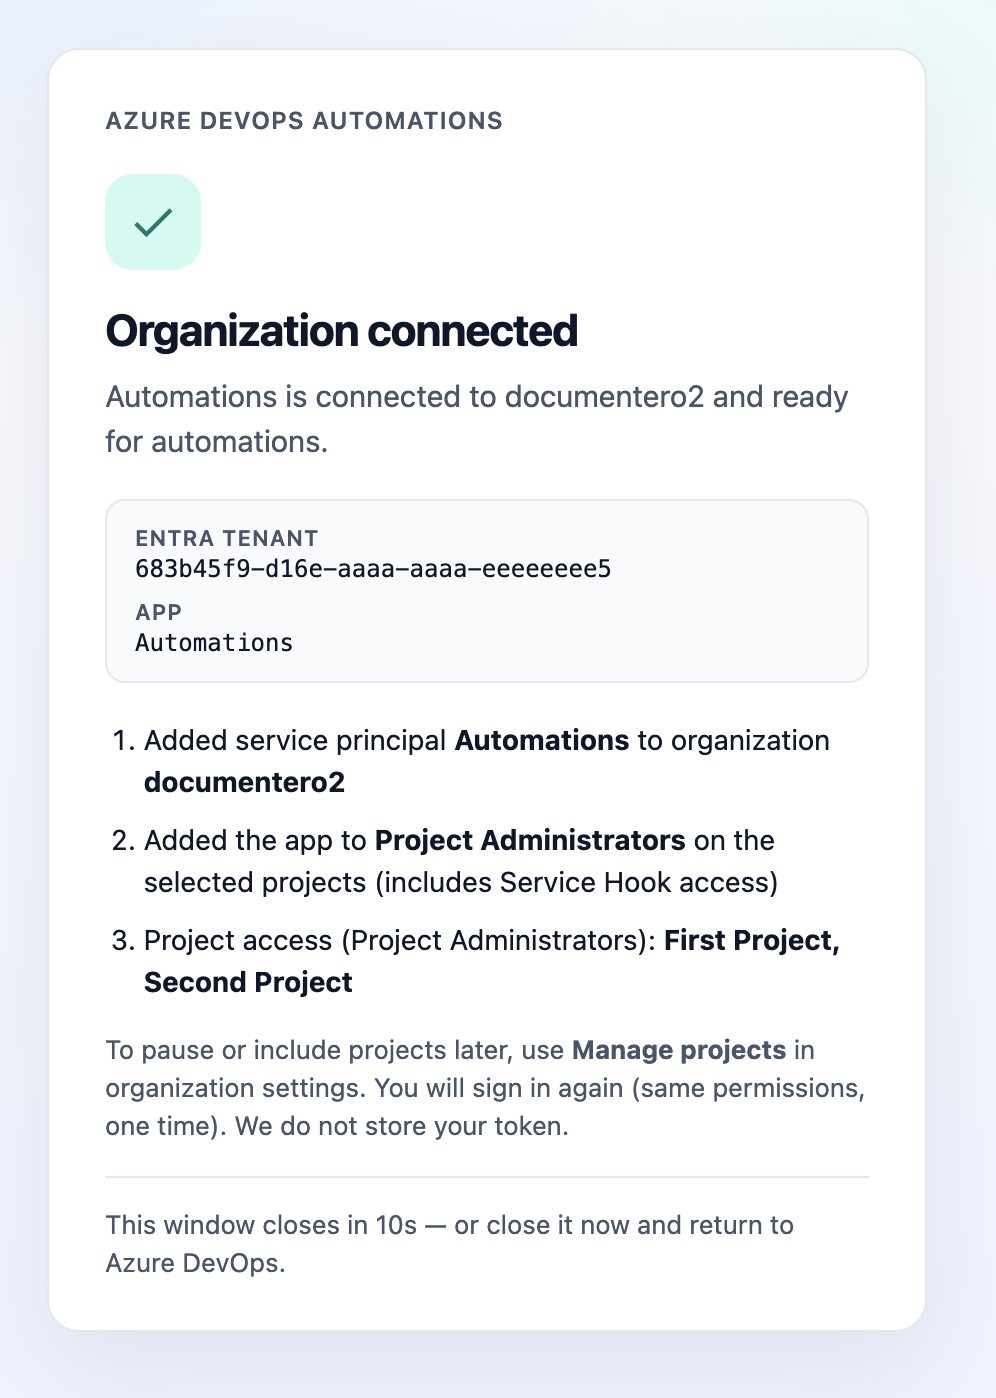
Confirmation after the Entra app is added
You should see confirmation that the Entra app was added and that the Automations App has access to the selected projects as a project admin.
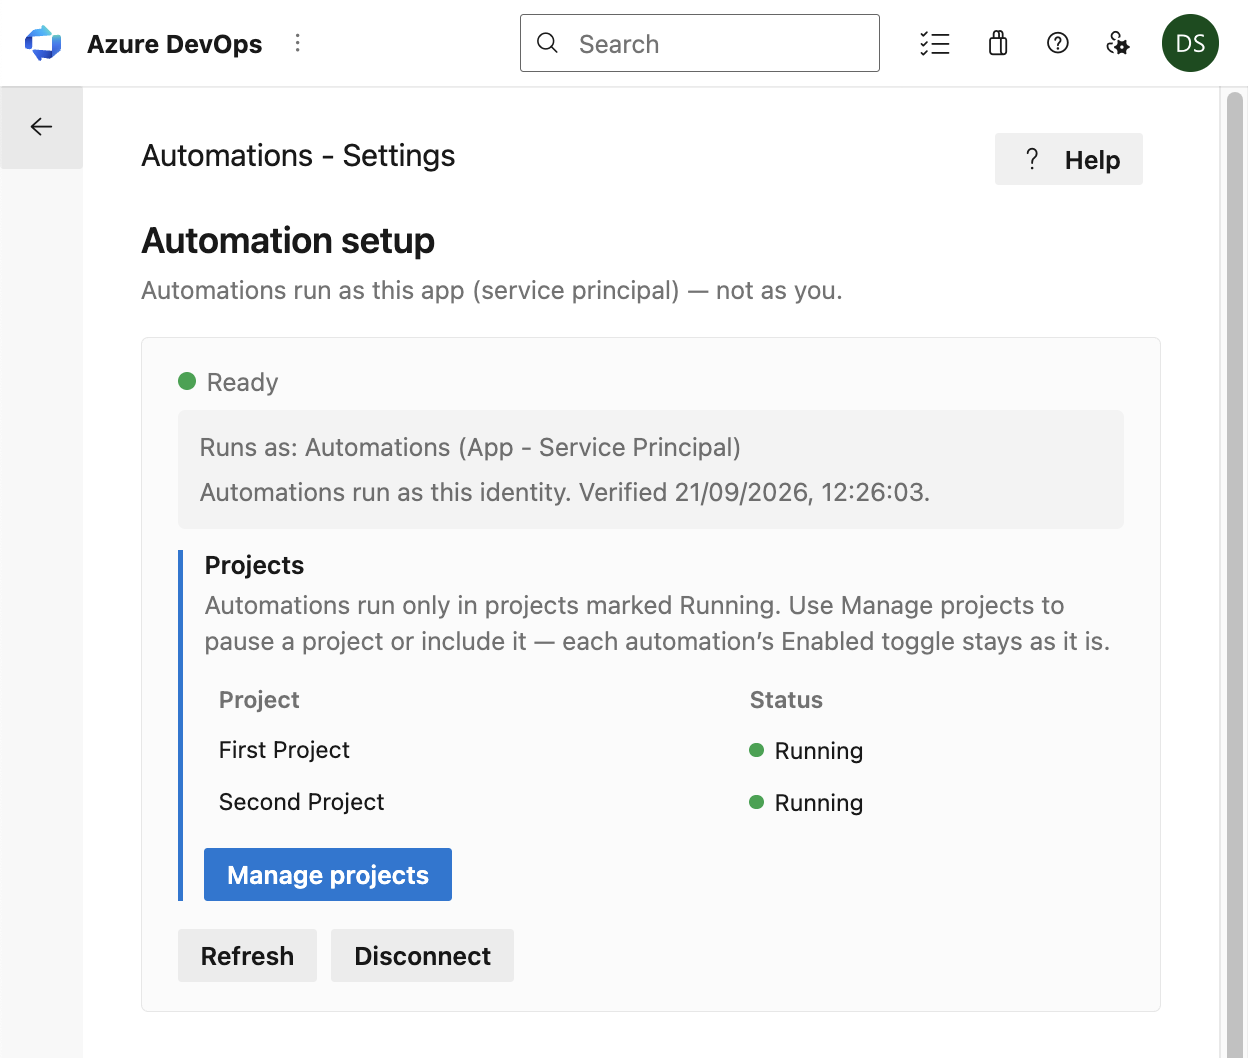
Ready status and enabled projects
After a successful connection, status shows Ready and lists enabled projects. Use Manage projects to add or remove projects where Automations can run.
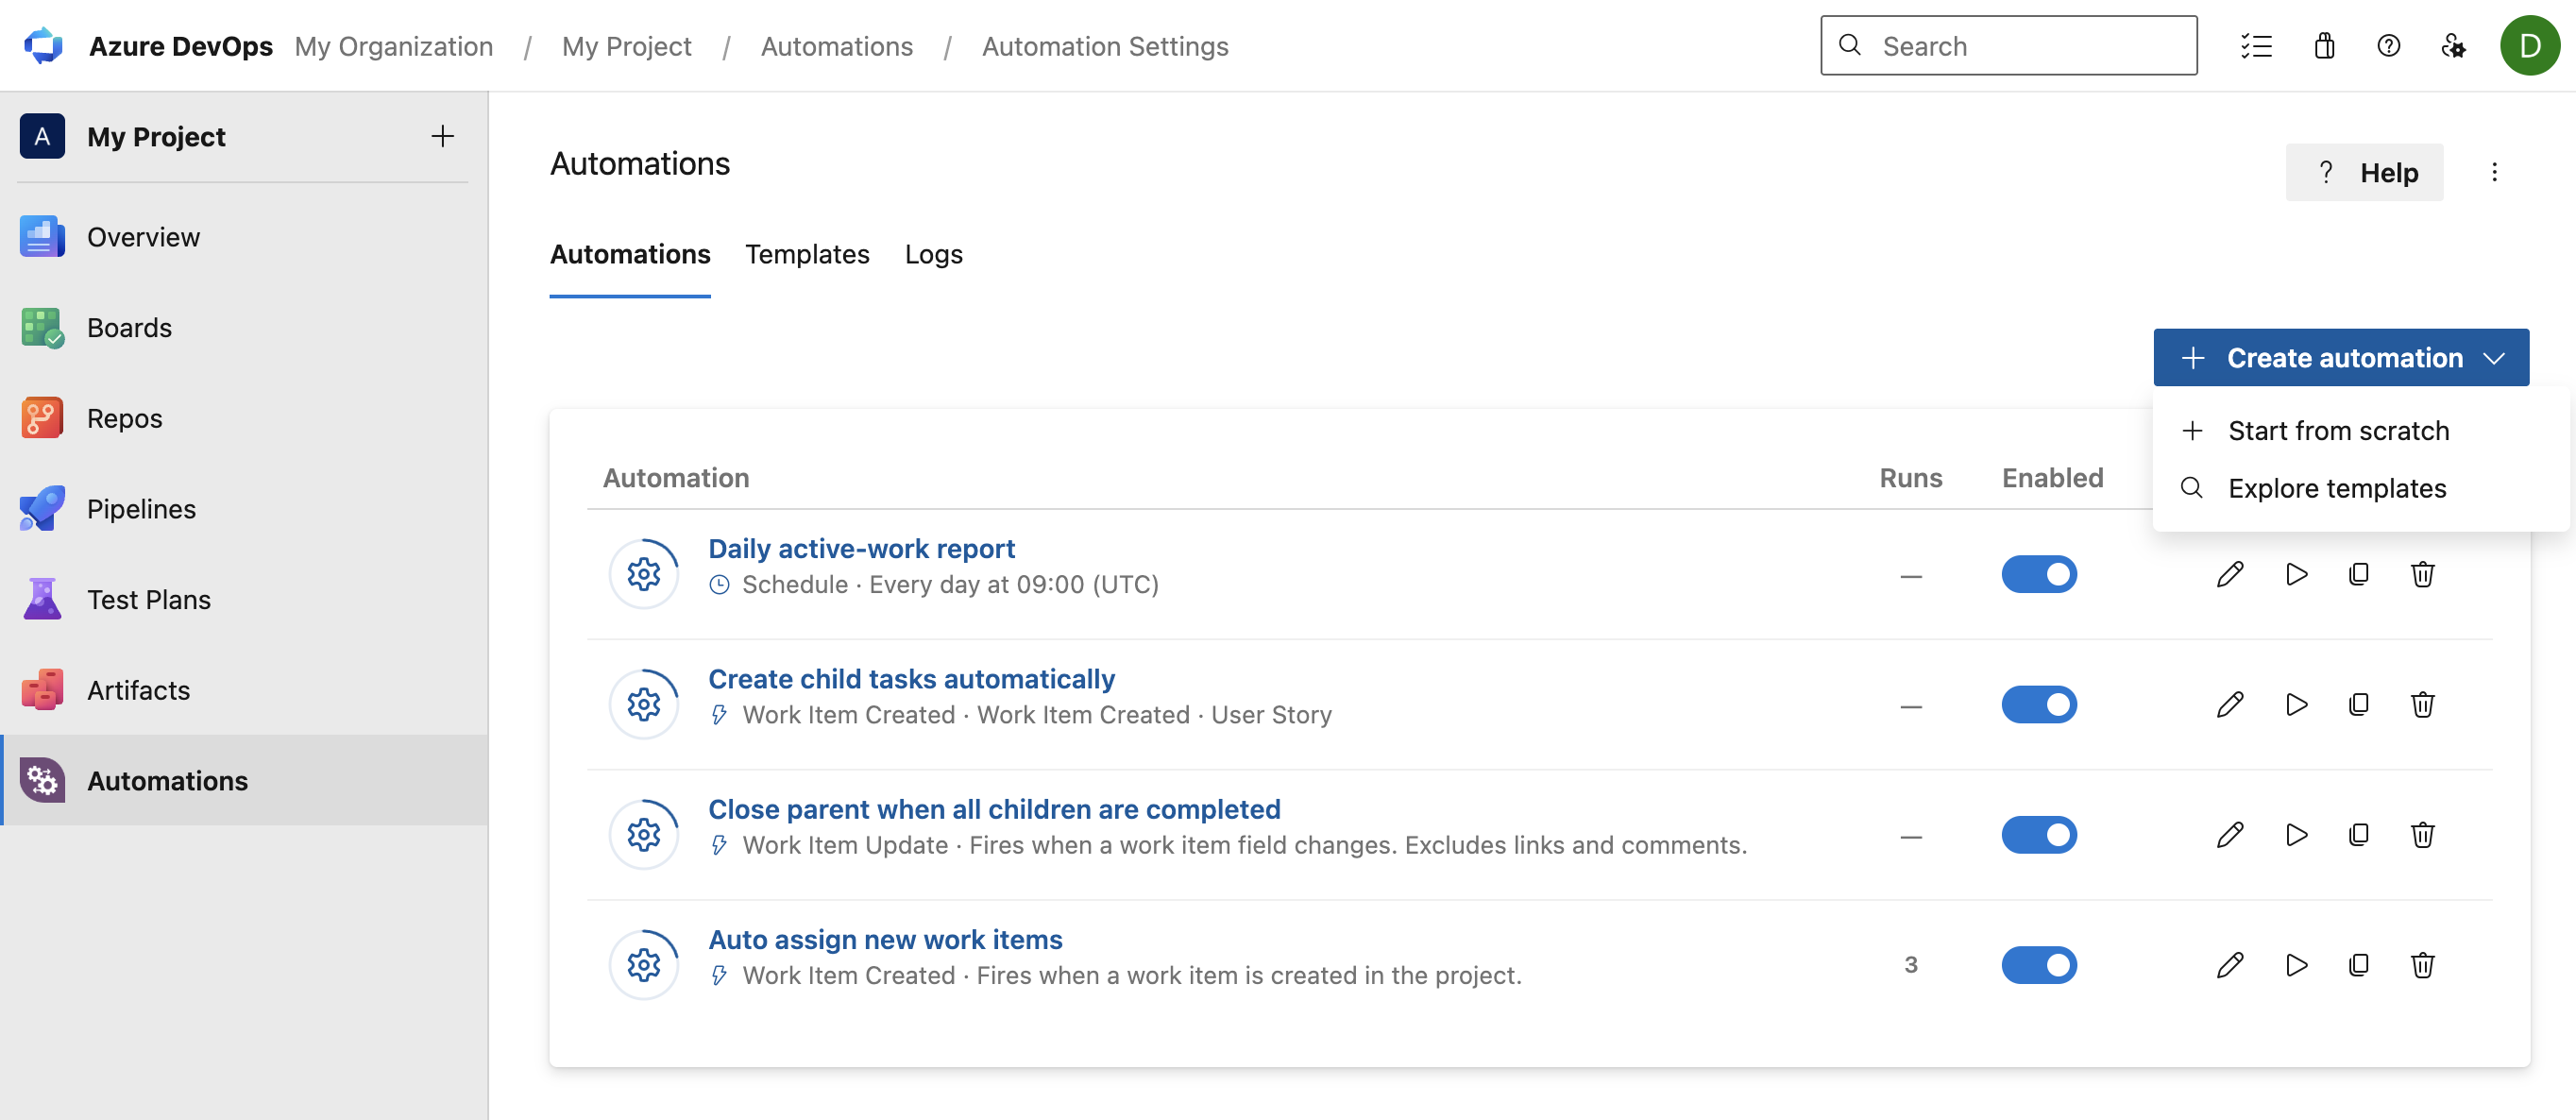
Create automations in a project
Once the organization status is Ready, a project administrator can open Automations in the project. Create an automation from a template or start from scratch.
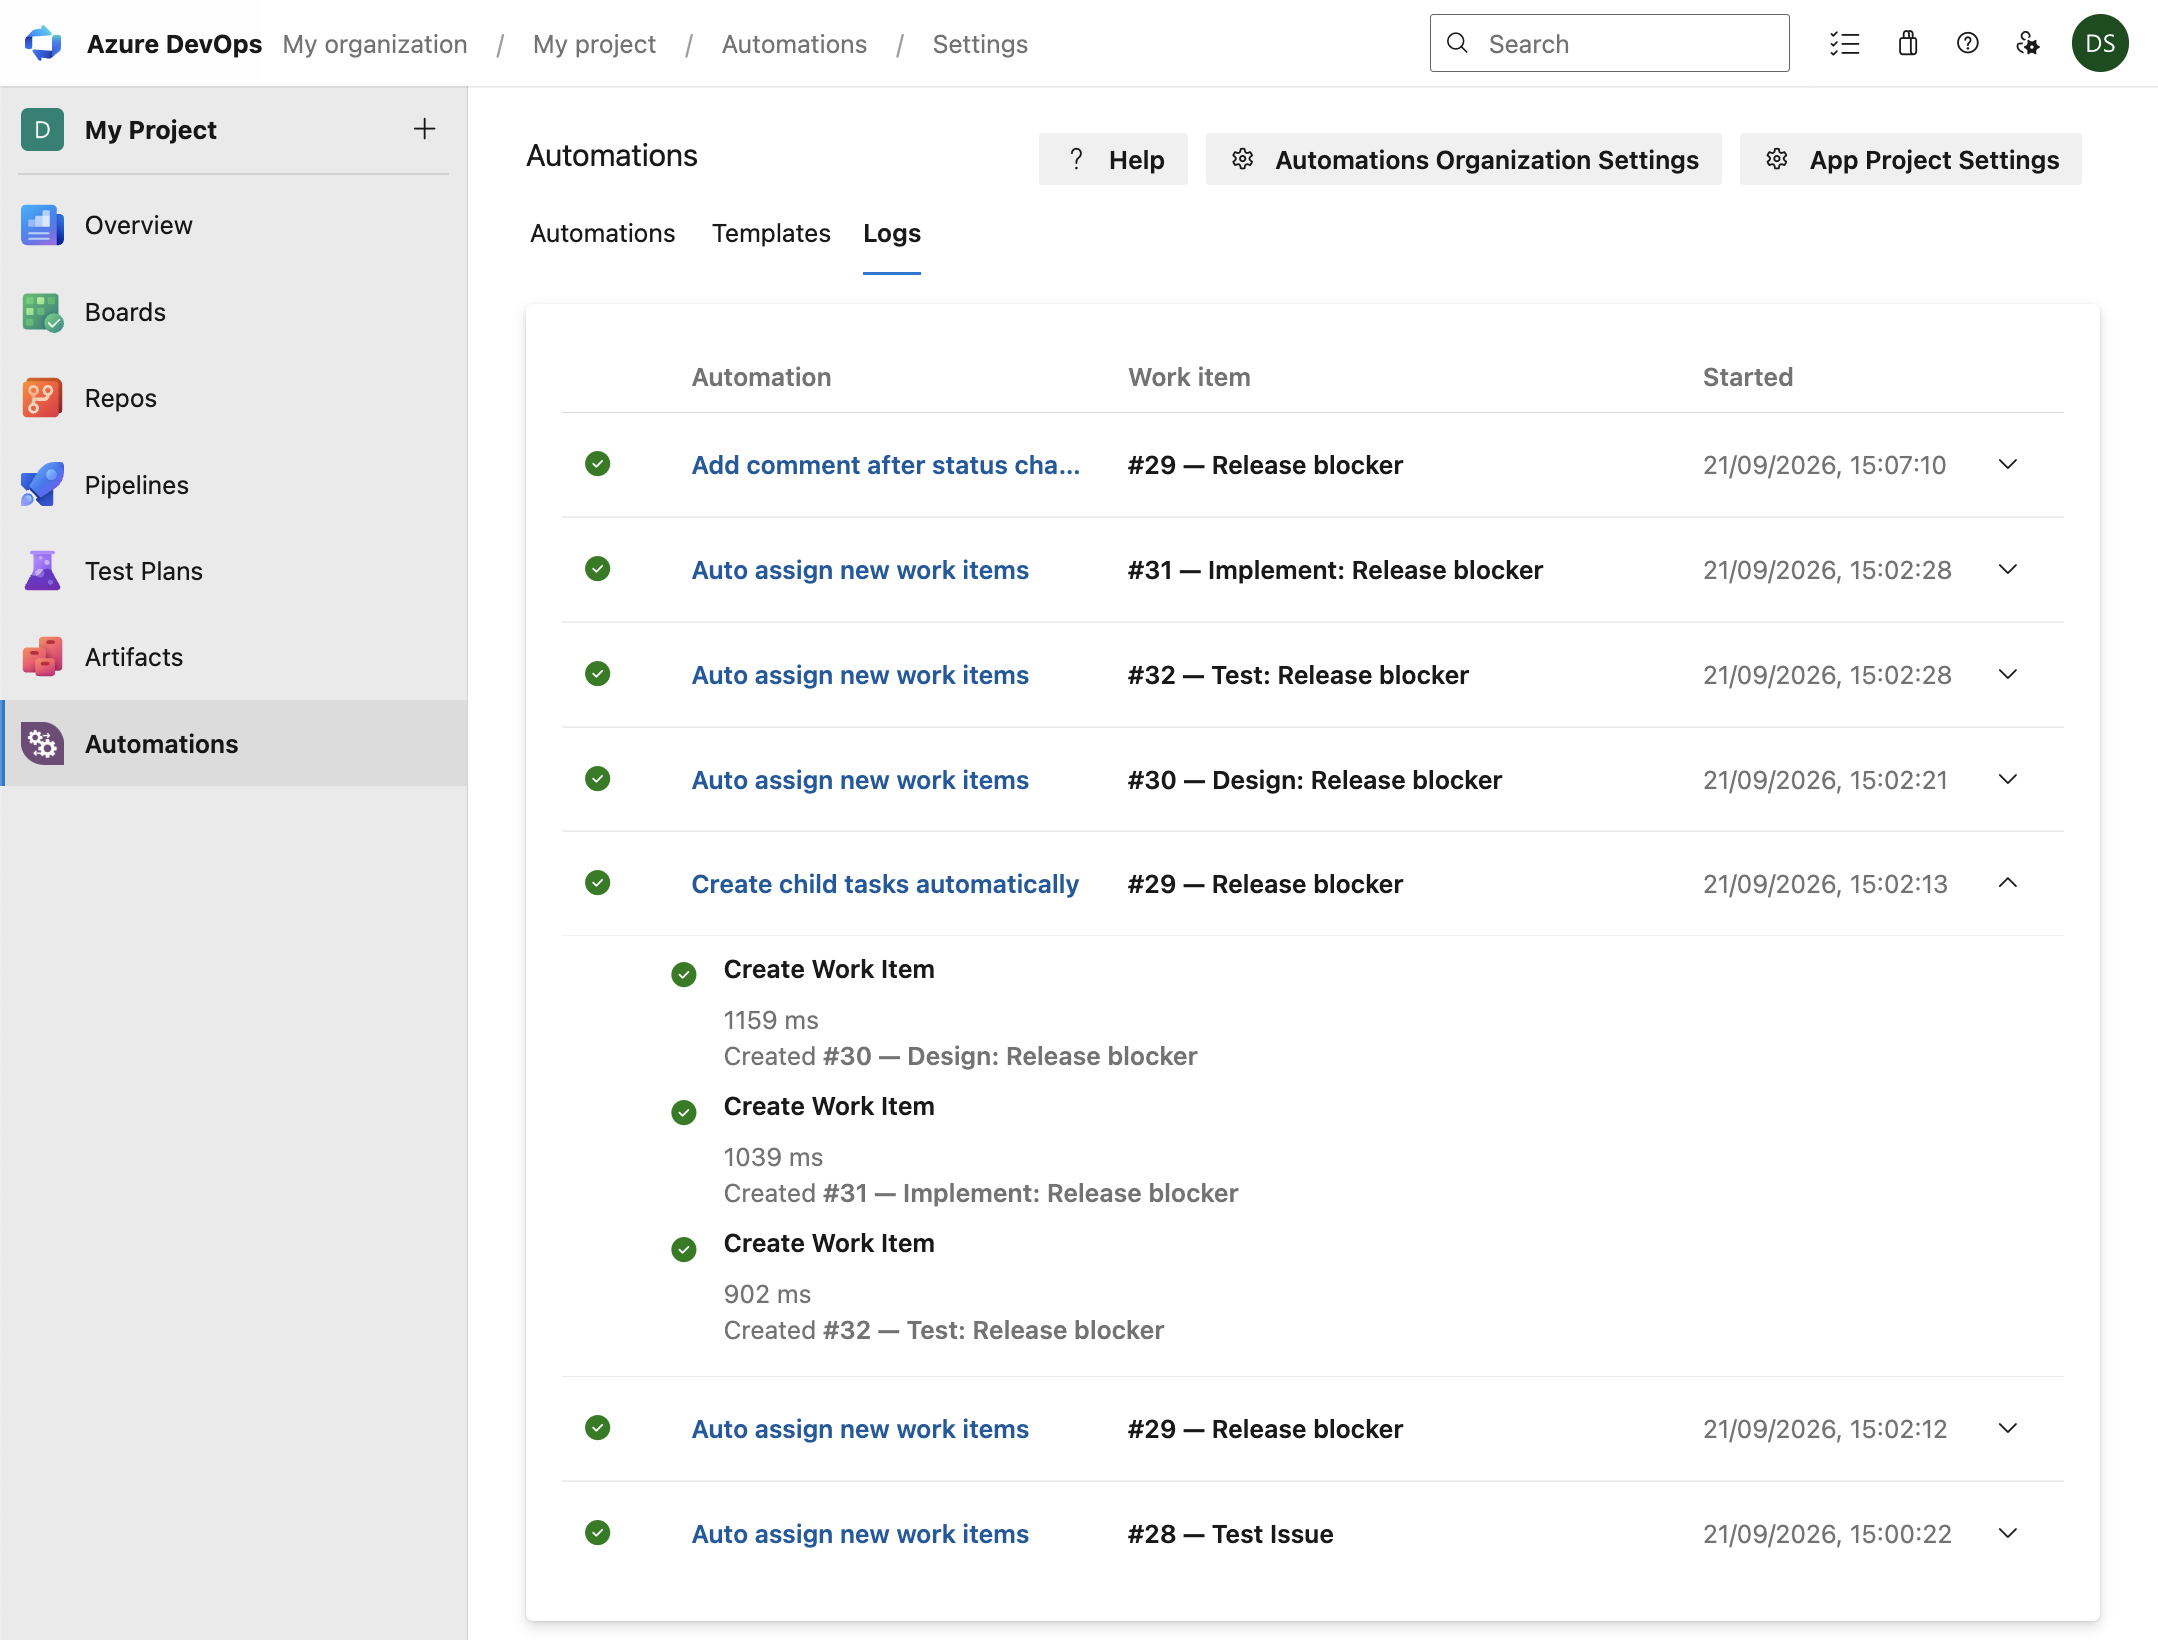
Monitor automation executions
Open the Logs tab in the project to see each run, the work item it acted on, and expand a row for step details.
Common questions
Who can install the Automations App?
What permissions are needed to connect the organization?
Can I change which projects Automations is enabled in?
Can I create automations without templates?
How can I verify if automations are running correctly?

Visual Studio Marketplace
Automations
Automate Azure DevOps workflows with triggers, actions, conditions, and scheduled rules.